
I was beyond excited when PTI launched the calendars stamp set and die. This is my first project; a desktop calendar just for me!
The first thing I did was to pull some of my favourite patterned paper, and matching cardstock. I knew I wanted to do more patterned papers versus stamping.

I picked patterns from Library Ledger and Green Boutique, and aqua mist, ocean tides, dark chocolate, enchanted evening, kraft and cream. First I created the bases by cutting the solid cardstock at 5.5'' on the short side.

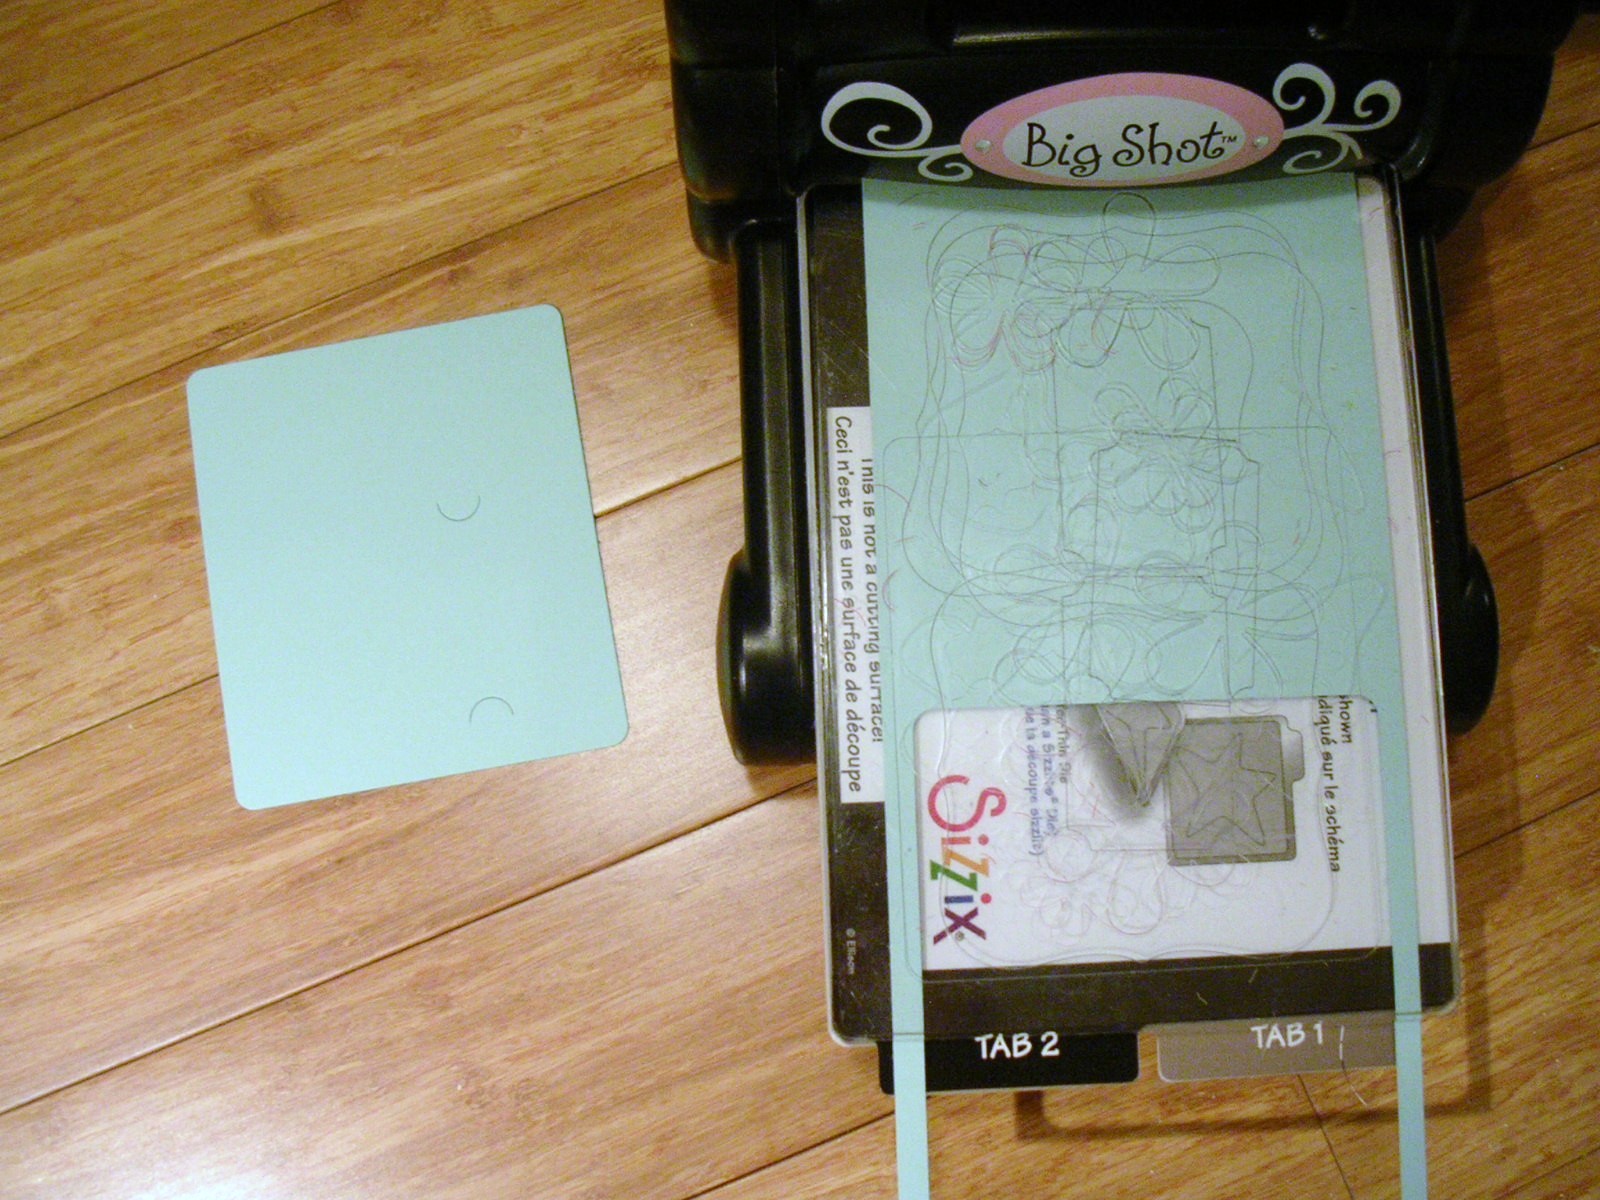
Then I ran the mini calendar die through the Big Shot. Two die cuts were created from each 5.5 x 11 '' piece.
And then I just played; putting various items together. I didn't want to take too much time, so the embelishments were minimal.
For January I rounded the corners of both the PP mat and the calendar. I adhered the PP onto aqua mist and decided not to run it though the Big Shot again (and therefore not use the tabs created by the die) as this gave me more options of where to mount the actual calendar. The buttons are hawaiian shores, the ribbon cream satin.
.JPG)
For February I added a small bow with the 1/8'' silk ribbon. After I did I thought, shoot, I should have made a line with my copics like Nichole does! This is an ocean tides base.

For March I stamped a leaf from Turning a New Leaf onto enchanted evening with versamark and heat embossed with clear powder, then added some pearls.
.JPG)
April is my favourite - I matted the PP on cream and dark chocolate, then used a Beautiful Blooms die with kraft paper, stamped text in brown, and added a melon berry button.

May I went out on a limb - PP on kraft cardstock, with a gold heat embossed flourish, lace trim and a scarlet jewel mat made with the label 1 die. I rounded the corners again on the calendar.

And June using In Bloom ocean mist PP, with aqua mist and spring moss satin ribbons.

I decided since this one is for me, and I like the way these turned out, I will probably just adhere the next 6 months (July - Dec) mini calendars overtop of the (Jan - June) existing ones at the end of June. Or, if I get bored of them, then I'll make 6 additional pages - that's the beauty of making my own, I get to choose! And this way I can get a head start on other's Christmas presents. :) Now that I have the measurements in front of me for the various layouts, it shouldn't be very time consuming.
Although some of the pages were a little bulky, all 6 fit into a calendar CD case that I purchased from PTI.

ADORE the colors on these and the simplicity of each month. just what i'm looking for and have a hard time with!
ReplyDeleteThis is really beautiful! love the colors you picked and the patterned paper u chose!
ReplyDeleteLove, love, love what you did with the calendars!! beautiful!!!
ReplyDeleteVery elegant, chic calendar.
ReplyDeleteThanks for sharing.